What goes where in the chain, how each device is used to best effect, and step-by-step setups for podcasts, training videos and live workshops — with the MaonoCaster AME2 at the centre.
The role of each piece, how it connects, the settings that matter and how to get the most from it.
Your Kit
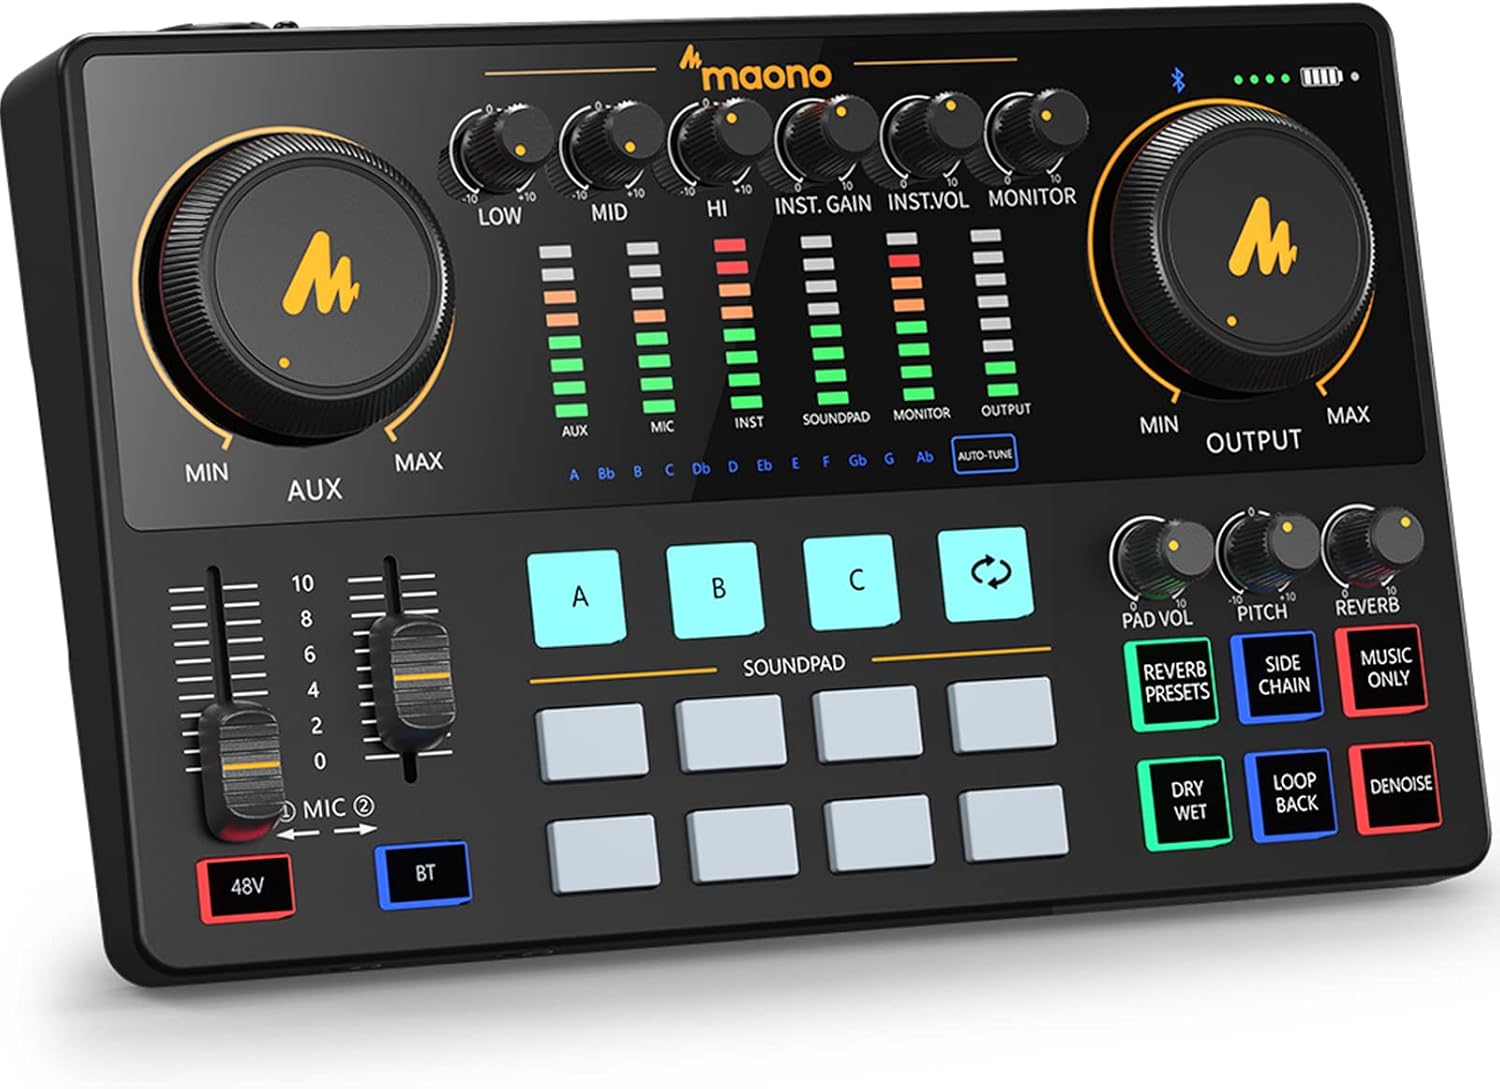
MAONO MaonoCaster AME2 — the hub
Podcast console and USB-C audio interface: XLR/jack combo input with 48V, instrument, 3.5 mm headset-mic and AUX inputs, Bluetooth, 11 sound pads, noise suppression, reverb, loopback, two headphone outputs, battery up to 8 hours.
Role: Everything passes through it — your mic and effects, guest audio, music, pads and callers — and it sends one finished stereo mix to the computer.Connects: In: DCM 8 (XLR) · Wave XLR headphone out (AUX) · phone (Bluetooth) · computer audio (USB loopback). Out: USB-C to computer · two pairs of headphones.Settings: 48V ON for the DCM 8 · 48 kHz on the computer · set the AME2 as the computer's sound output so computer audio reaches the mix.Get the most from it: Load intro, outro, stings and applause on the pads before the show. Keep reverb subtle for speech. Charge it fully before location work.
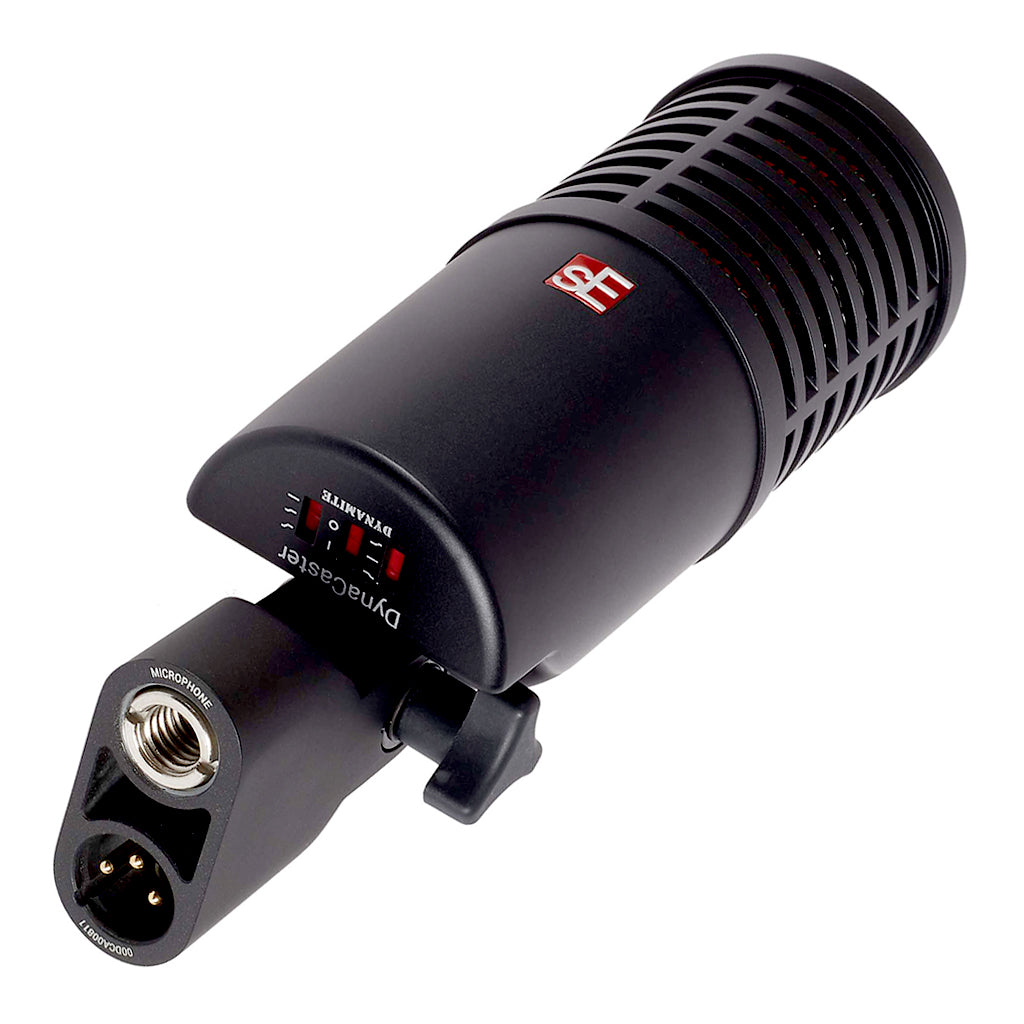
sE DynaCaster DCM 8 — your voice
Dynamic broadcast mic with a built-in +30 dB preamp and LF/HF tone switches.
Role: Your main microphone, solo or with guests — it rejects room echo and background noise far better than the condenser.Connects: XLR cable → AME2 XLR input. Pop shield on; K&M table stand.Settings: Phantom power ON — the built-in preamp only works with 48V and the recessed switch in active mode. Start with low-cut on to tame bass when close up.Get the most from it: Speak 5–10 cm away, slightly off-axis to reduce plosives. Because of the +30 dB preamp you need very little gain on the AME2 — keep its gain low to avoid hiss.
MAONO A04 Gen2 — guest or travel mic
Condenser mic with USB-C (192 kHz/24-bit, onboard DSP) and XLR outputs; kit includes boom arm, shock mount and pop filter.
Role: Guest mic in the studio; plug-and-play USB mic on the road.Connects: Studio: XLR → Wave XLR. Travel: USB-C straight into a phone or laptop.Settings: 48V ON at the Wave XLR when used by XLR (condenser). In USB mode, use the Maono Link app for gain, noise reduction, EQ and presets.Get the most from it: Best in a quiet, soft-furnished room — it picks up more of the room than the DCM 8. Use the boom arm and shock mount to isolate table bumps.
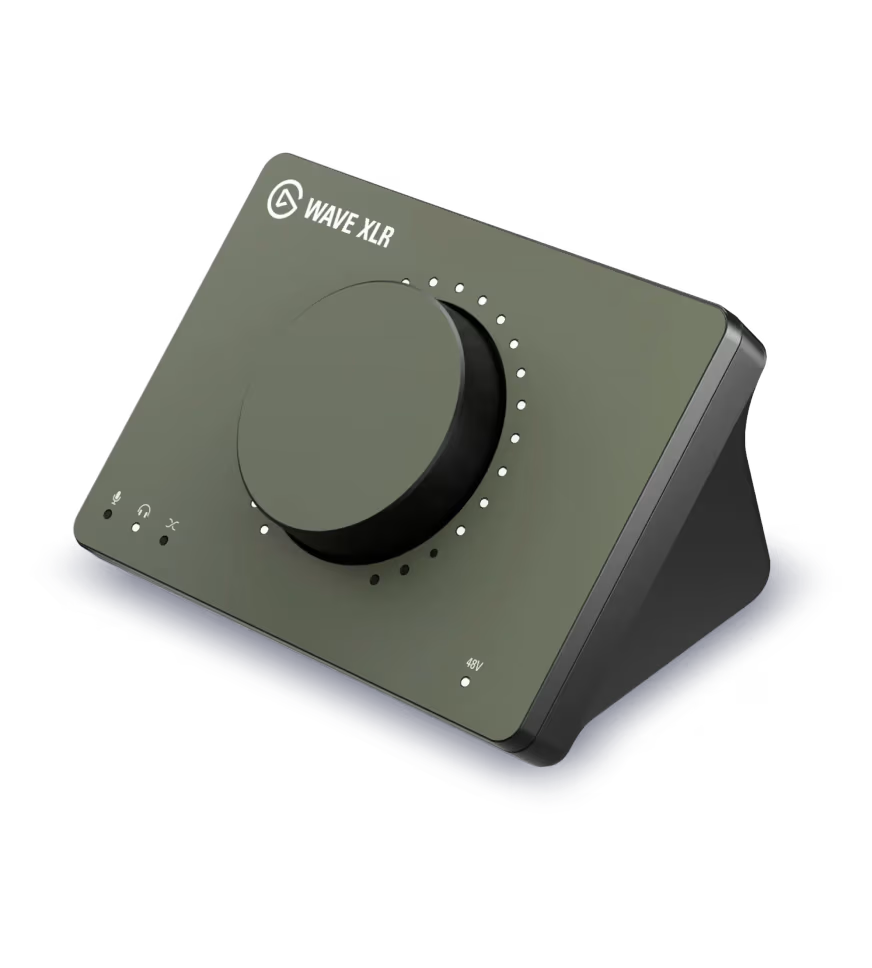
Elgato Wave XLR MK.2 — second channel with its own DSP
USB-C interface and DSP mixer: 80 dB clean gain, 24-bit/48 kHz, 135 dB dynamic range, Clipguard 2.0, onboard low-cut, expander, compressor, EQ and Voice Tune, Voice Focus noise reduction, Auto Gain, touch mute and a high-power headphone output. Controlled in Elgato Wave Link and from the Stream Deck +.
Role: Brings a second XLR mic (the guest's A04) into the AME2 — fully processed by its own onboard effects — and records a clean 24-bit safety track. Also your best-quality route for edited podcasts.Connects: In: A04 by XLR. Out: headphone jack → 3.5 mm stereo cable → AME2 AUX · USB-C → computer (power, control and safety track).Settings: Phantom power ON. Monitor mix = mic only (no computer audio) to avoid an echo loop. Clipguard ON. Onboard chain for speech: low-cut → compressor → gentle EQ; add Voice Focus in noisy rooms. Leave High Power headphone mode OFF when feeding the AME2.Get the most from it: Try Auto Gain to set the guest level, then fine-tune with a Stream Deck dial. Keep the headphone output moderate so it doesn't overload the AME2's AUX input, and balance the two voices on the AME2.
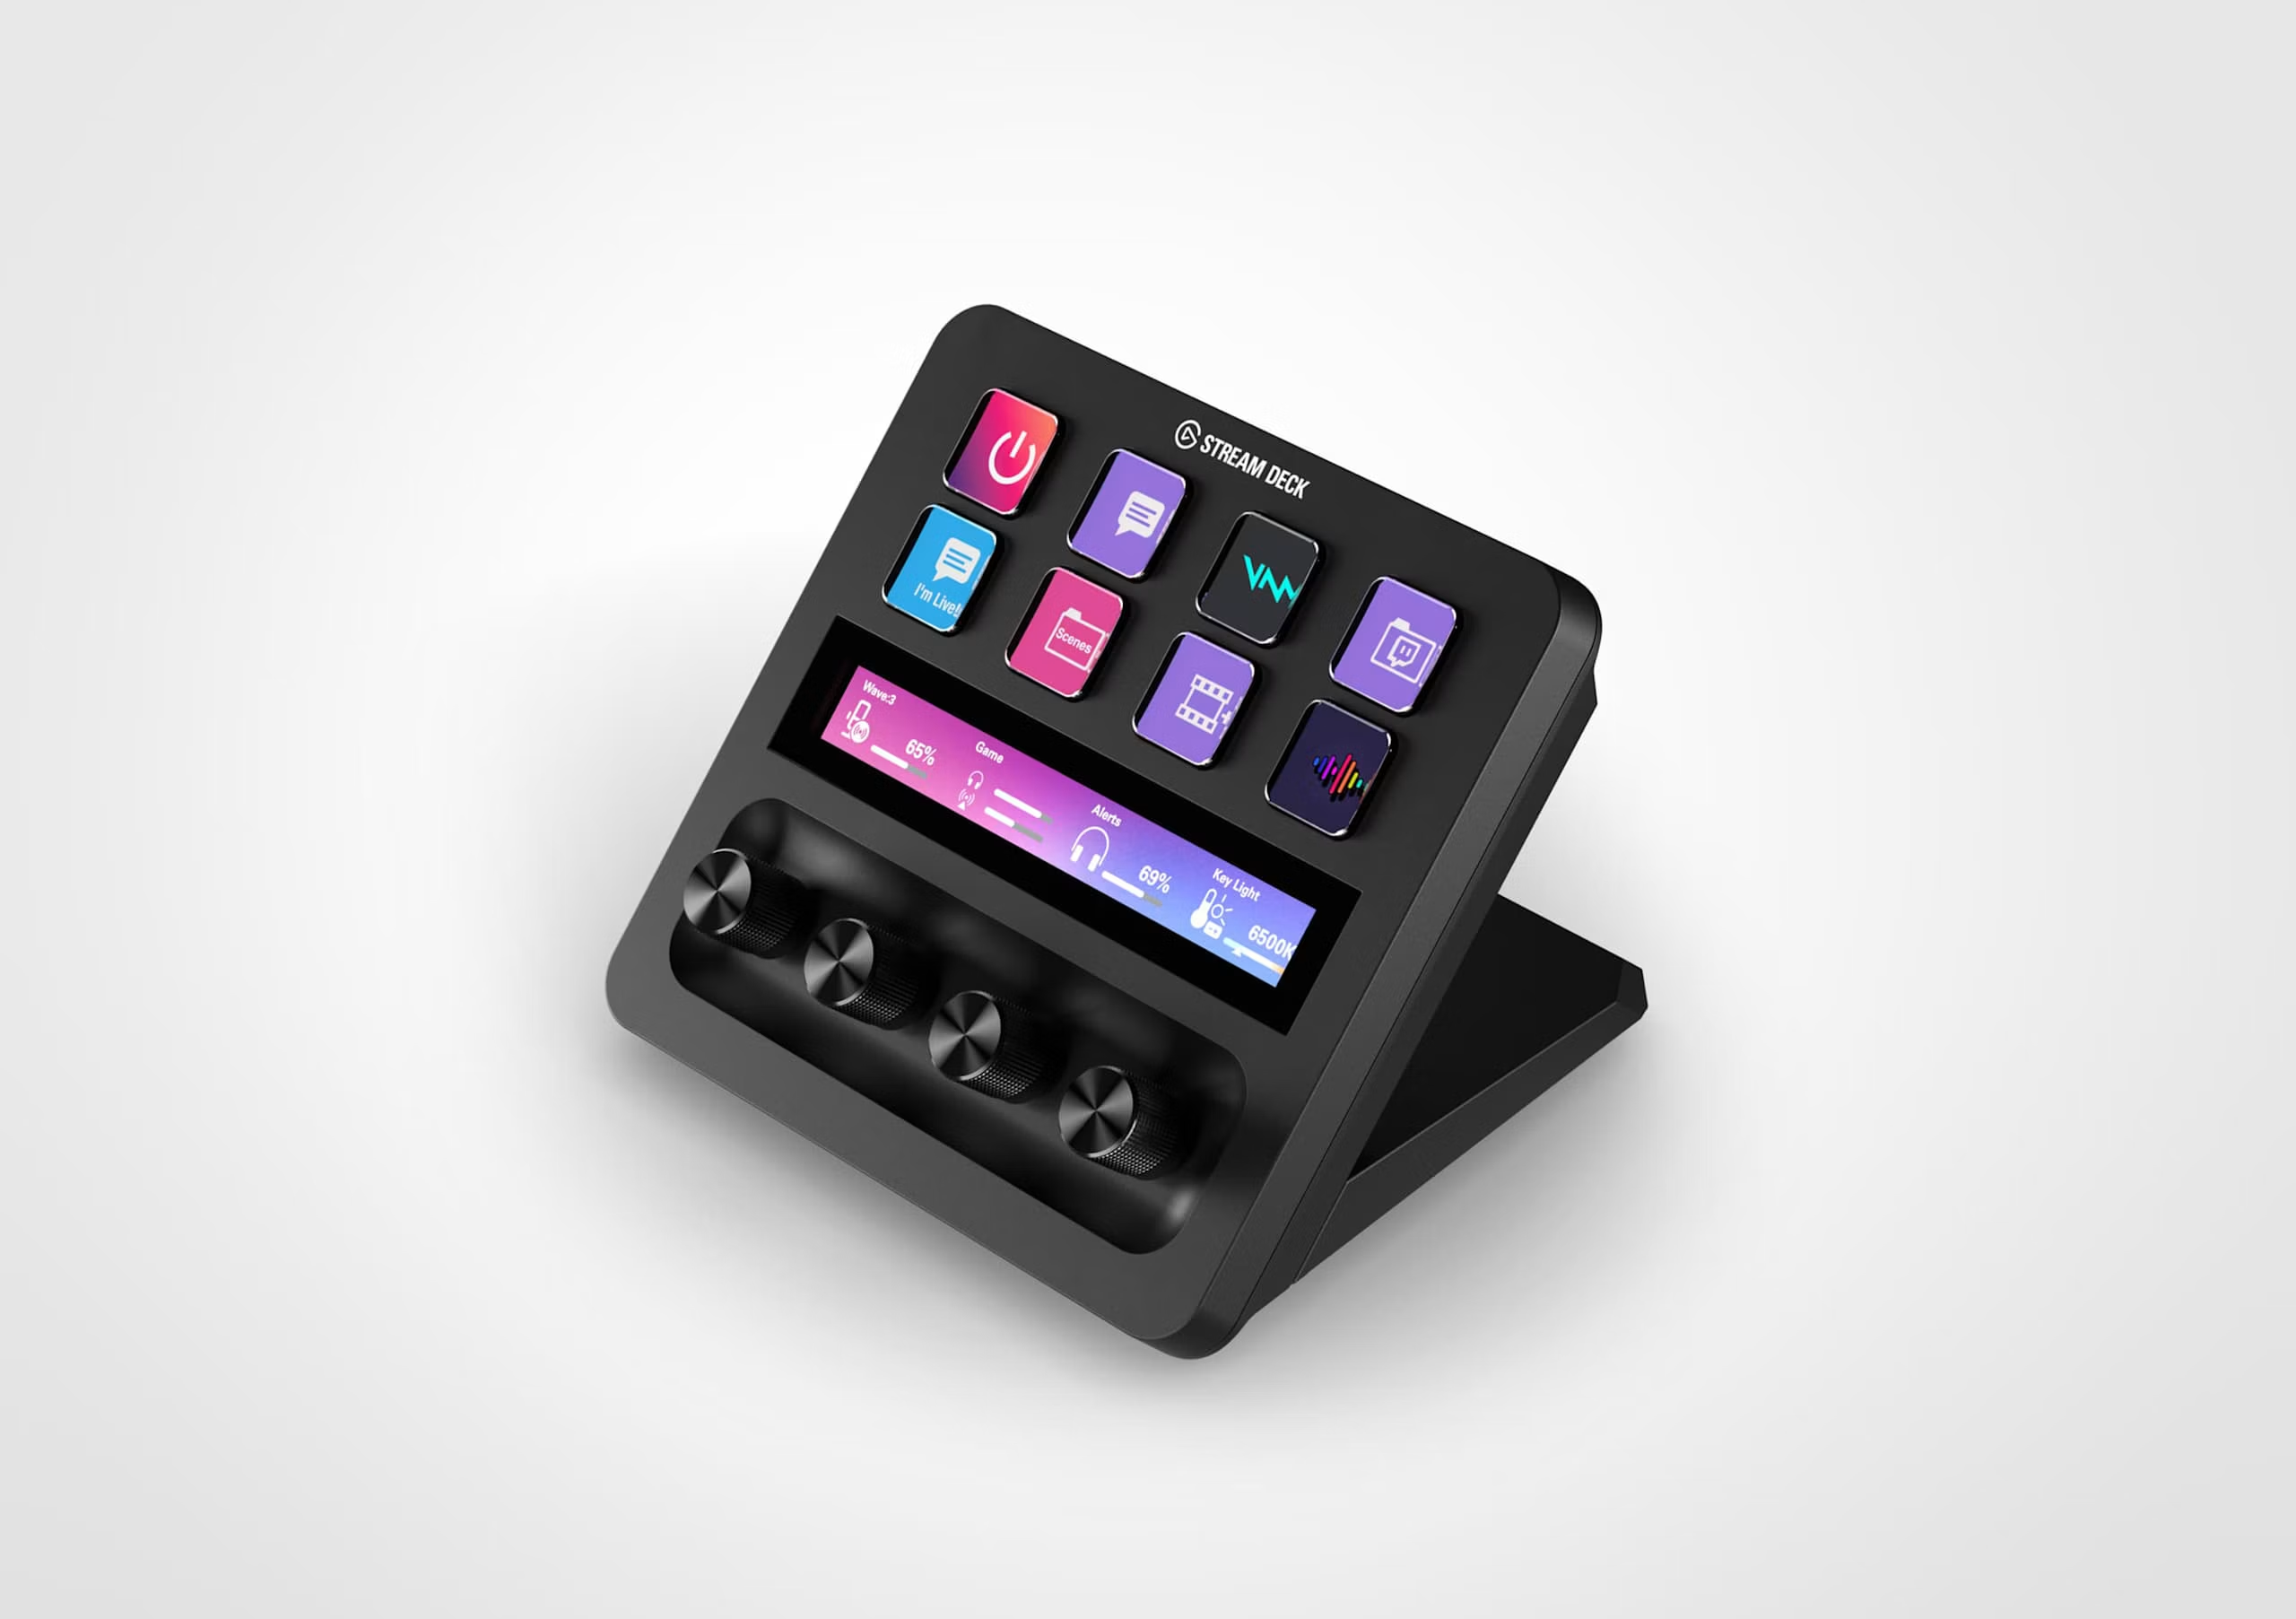
Elgato Stream Deck + — the control desk
8 LCD keys, 4 dials and a touch strip.
Role: Controls the software — OBS, Wave Link and music — with no audio passing through it.Connects: USB-C → computer.Settings: Install the OBS, Wave Link and Soundboard plugins (plus a volume-control plugin on a Mac).Get the most from it: Build a "Show" page for recording and streaming and an "Edit" page for Lightroom and Photoshop shortcuts.
Accessories
Pop shield, K&M table stand, XLR cables ×2.
Role: Clean plosives, stable mic placement and balanced connections.Connects: XLR 1: DCM 8 → AME2. XLR 2: A04 → Wave XLR.Settings: —Get the most from it: Still needed: one 3.5 mm stereo (TRS) male-to-male cable, Wave XLR → AME2 AUX. Optional: a headset mic for quick guests, and a powered USB hub if your computer is short of ports.
SET
Setups, Step by Step
Pick the setup that matches the session.
Sessions
1 · Solo — podcast, voiceover or livestream
DCM 8 → AME2 → computer. The Wave XLR is not needed.
Connect the DCM 8 to the AME2 by XLR; switch 48V on and the mic to active mode.
Connect the AME2 to the computer by USB-C; set it as the computer's input and output.
Headphones into the AME2; set mic gain so loud speech peaks well below the red.
Add noise suppression and a touch of reverb; load the pads.
Background music from your phone over Bluetooth, or from the computer via loopback — keep it well under your voice.
In OBS or your DAW, select the AME2 as the audio input and record or go live from the Stream Deck.
Tip: Do a 30-second test recording and listen back on headphones before every session.
A04 into the Wave XLR by XLR; 48V on in Wave Link.
Wave XLR MK.2 headphone jack → 3.5 mm stereo cable → AME2 AUX input (High Power mode off).
In Wave Link, set the monitor mix to mic only and switch on the onboard low-cut, compressor and EQ for the guest.
Set the guest level on the Wave XLR MK.2 (or with Auto Gain), then balance both voices on the AME2.
Both of you wear headphones from the AME2's two outputs and hear the full show.
Record two inputs: the AME2 (the finished mix) and the Wave XLR (a clean guest safety track).
Tip: The AME2's reverb and noise suppression apply to its own mic inputs, not the AUX — so give the guest the MK.2's onboard compressor, EQ and Voice Focus instead.
3 · Phone guest
Caller joins through the AME2's Bluetooth.
Pair your phone with the AME2 and make the call.
Set the caller's level against your voice on the AME2.
Wear headphones so the caller doesn't hear an echo.
Tip: Phone audio is narrow-band — fine for call-ins, not for a whole episode.
4 · Online guest — Zoom, Riverside, StreamYard
Caller comes in through the computer and the AME2's loopback.
In the call app, choose the AME2 as both microphone and speaker.
Loopback brings the caller into your mix and recording.
If the caller hears themselves, turn loopback off for that call.
For best quality, use Riverside's separate local recordings.
Tip: Use a Stream Deck dial to set the caller's level.
5 · Travel and location
Battery-powered, with a phone or laptop as the recorder.
Quickest: A04 straight into your phone by USB-C, using the Maono Link app for noise reduction and presets.
Two voices: the AME2 on battery, a mic in its XLR input and a headset mic in its 3.5 mm input, USB-C to phone or laptop, two pairs of headphones.
Outdoors, prefer the DCM 8 for its rejection of wind and background noise, with the pop shield on.
Tip: The AME2 doesn't record on its own — it always needs a phone or computer connected.
6 · Best-quality edited podcast
DCM 8 → Wave XLR MK.2 → computer at 24-bit, with music and effects added in editing.
Connect the DCM 8 to the Wave XLR MK.2; 48V on and the mic in active mode.
Record at 24-bit/48 kHz in your DAW; use the onboard low-cut and a light compressor, or record clean and process later.
Clipguard 2.0 protects against sudden laughs and shouts.
Optional: send the MK.2 headphone output into the AME2 AUX to use the pads and music live, while the DAW records the clean 24-bit voice track separately.
Tip: Your voice reaches the AME2 through the AUX in this setup, so it won't get the AME2's reverb — use the MK.2's onboard effects instead.
TRN
Training Videos
For macro and astrophotography tutorials the priorities change: the cleanest voice, clear views of your hands and screen, and music added in editing. The Wave XLR MK.2 and the RØDE Wireless Pro take the lead.
Talk through Helicon, Lightroom, Siril or PixInsight with the cleanest voice and everything recorded in sync.
DCM 8 → Wave XLR MK.2 by XLR; 48V on and the mic in active mode.
In Wave Link: low-cut and a light compressor on, Clipguard on, 48 kHz.
In OBS, add the screen capture, the Wave XLR MK.2 as the mic, and optionally a face cam (Pocket 4P, or the Z6 III as a USB webcam — check your firmware supports it).
Build Stream Deck keys for Full screen · Screen + face · Face only, plus Record and a Marker key to flag retakes.
Record. Add music and stings in editing, where you can place them exactly.
Tip: The AME2 isn't needed here — a clean, unprocessed-sounding voice is what viewers want in a tutorial.
2 · Desk demonstration — the macro rail, flash setup or polar alignment
Show your hands on the kit from two angles with broadcast-quality sound.
Main camera: Z6 III on a tripod, framed on you and the kit.
Overhead camera: Pocket 4P (or Ace Pro) on the magic arm or WN-40 clamp, looking straight down at your hands.
Voice: DCM 8 on the A04's boom arm just out of frame → MK.2 → computer at 24-bit. Simplest alternative: the RØDE Wireless Pro lav straight into the Z6 III.
Light: Lowel i-Light as key, RF01 white side as fill; the RM 03 for close-ups of small parts.
Clap once at the start of each take, then sync everything in editing.
Tip: Film each step twice — once wide, once overhead — and you'll never be short of cutaways.
3 · Field video — forest macro and night-sky astro
Teaching on location, where wind, cold and darkness are the challenges.
RØDE Wireless Pro lav into the Z6 III, with its 32-bit float backup on. Or the DJI mic straight into the Pocket 4P.
Fit the furry windshields outdoors.
Pocket 4P on the magic arm for over-the-shoulder shots of the camera's rear screen.
At night: transmitters and batteries in an inside pocket, red light only, and record ten seconds of silence for noise reduction later.
For complex explanations, film the process quietly and record the narration later at your desk.
Tip: Short, clear pieces to camera in the field, with detailed explanation added as narration, usually make the best training videos.
4 · Narration and voice-over
Recorded at the desk after filming.
DCM 8 → Wave XLR MK.2 → DAW at 24-bit/48 kHz.
Quiet, soft-furnished room; 5–10 cm from the mic, low-cut on.
Watch the edit as you record, so the timing matches the pictures.
Tip: Record a whole paragraph per take — it sounds more natural than line by line.
LIVE
Live, Streamed Workshops
Live teaching brings the AME2 back to the centre — pads for intros and breaks, music, and phone-in Q&A.
Live, streamed workshop
A live class with slides, demonstrations, music and Q&A — the AME2 earns its place here.
Before the session, load the pads: intro, "back in five", break music, applause and outro.
Build OBS scenes: Welcome · Camera · Slides · Screen share · Overhead demo · Break. Assign them to Stream Deck keys.
DCM 8 → AME2 with noise suppression on and reverb off or very low — clarity matters more than warmth when teaching.
Co-host or table-top demo mic: A04 → Wave XLR MK.2 (with its onboard compressor) → 3.5 mm → AME2 AUX.
Cameras into OBS: the Z6 III or Pocket 4P as USB webcams, or through a capture device.
Q&A: phone callers over the AME2's Bluetooth; Zoom attendees through loopback (turn loopback off if they hear an echo).
Breaks: trigger the "back in five" pad and the Break scene together.
Record locally in OBS at the same time — a replay and a source for edited training clips.
Tip: Do a 10-minute private test stream the day before, with someone watching on a phone, to check sound levels and scene changes.
SDK
Stream Deck + Layout
A suggested "Show" page. The AME2 keeps its own knobs and pads — the Stream Deck handles the computer side.
Control
Assignment
Dial 1
Guest mic gain (Wave XLR MK.2 — native Stream Deck integration)
Dial 2
Computer music volume (into the AME2 via loopback)
Dial 3
Online caller / computer audio level
Dial 4
OBS input level for the AME2 mix
Keys 1–2
Start/stop recording · start/stop streaming
Keys 3–5
Scenes: camera · screen share · be right back
Key 6
Mute guest (Wave XLR MK.2)
Key 7
Chapter marker for editing
Key 8
Extra soundboard page — effects beyond the AME2's 11 pads
Device
What you control there
AME2 (hands-on)
Your mic gain, reverb, noise suppression · sound pads · Bluetooth music and calls · headphone levels
Stream Deck +
Guest gain · computer music and caller levels · scenes, record/stream, markers, mute · extra sounds
CHK
Pre-Show Checklist
Run through this before every recording or stream.
Settings
Phantom power
ON for the DCM 8 (at the AME2) and the A04 by XLR (at the Wave XLR).
Sample rate
48 kHz everywhere — the AME2 (16-bit) and the Wave XLR MK.2 (24-bit) both run at 48 kHz, so they match.
Computer sound output
The AME2 — so music, soundboard and callers reach the mix through loopback.
Wave Link monitor mix
Guest mic only, computer audio off — prevents an echo loop through the AUX input.